
BestRecipesBlog.com is a participant in the Amazon Services LLC Associates Program, an affiliate advertising program designed to provide a means for sites to earn advertising fees by advertising and linking to Amazon.com. As an Amazon Associate, I earn from qualifying purchases.
Microwave Caramels are rich, buttery, and surprisingly easy to make without a candy thermometer. These soft, chewy caramels come together quickly using simple pantry ingredients, making them perfect for homemade candy gifts, holiday trays, or a sweet treat anytime.
Equipment Needed
Microwave-safe bowl (large and deep)
Measuring cups and spoons
Silicone spatula or wooden spoon
8×8-inch baking dish
Parchment paper
Knife or candy cutter
Tips & Variations
Use a large bowl to prevent bubbling over while cooking.
Stir well between microwave intervals for smooth, even caramels.
Line the pan with parchment paper for easy removal and clean cuts.
Sprinkle flaky sea salt on top for salted microwave caramels.
Wrap individual pieces in wax paper for gifting or storage.

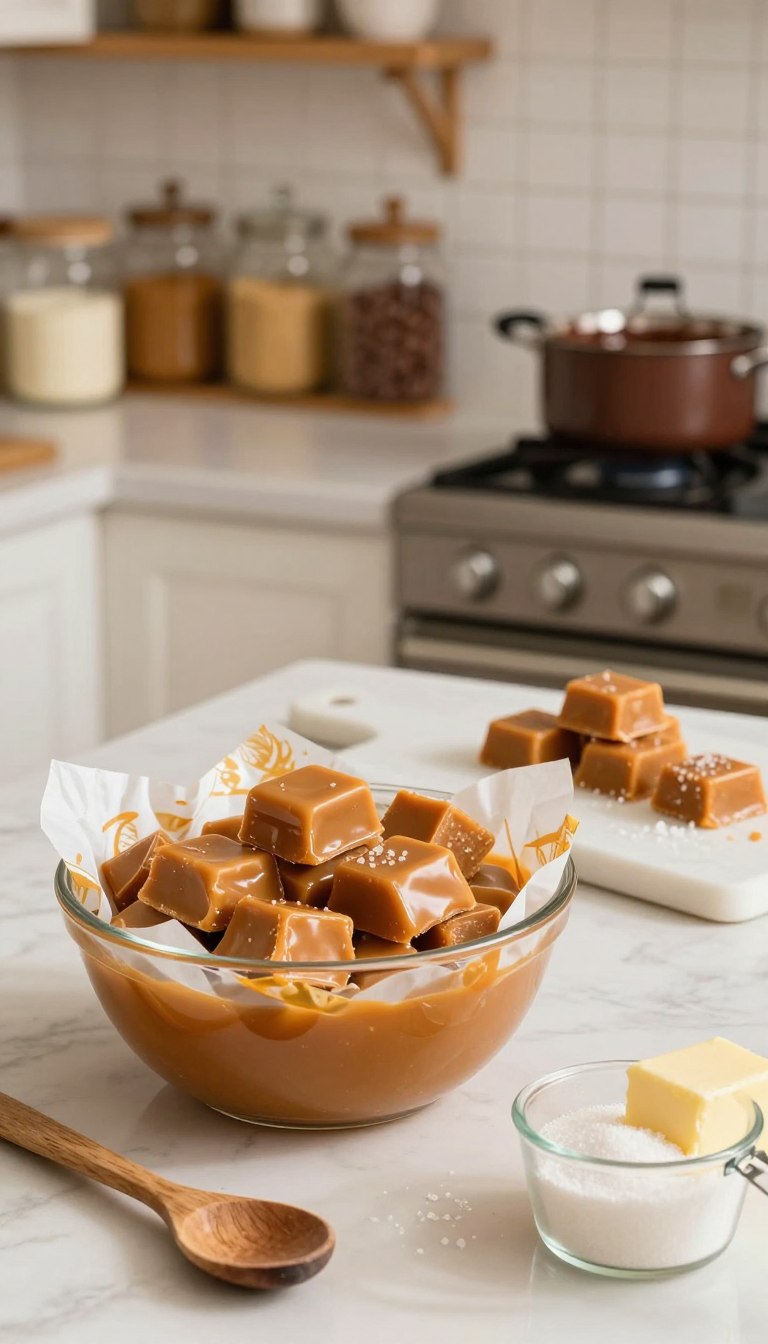
Microwave Caramels
Description
These microwave caramels are buttery, chewy, and oh-so-sweet! Made in just a few minutes, they are the perfect homemade candy for any occasion, and you'll love how simple they are to make.
Ingredients
Microwave Caramels Ingredients
Instructions
Preparing the Ingredients
-
Gather Your Ingredients
Start by measuring out your ingredients: 1 cup of granulated sugar, 1/2 cup of unsalted butter, 1/2 cup of sweetened condensed milk, and 1 teaspoon of vanilla extract.Make sure your butter is at room temperature for easier mixing.
Mixing the Ingredients
-
Combine Ingredients in a Microwave-Safe Bowl
In a large microwave-safe bowl, combine the sugar, butter, and sweetened condensed milk. Stir until well mixed.Using a silicone spatula can help scrape down the sides of the bowl effectively.
Microwaving the Mixture
-
Microwave the Mixture
Microwave the mixture on high for 5 minutes. Stop every minute to stir, ensuring even cooking and preventing burning.Keep an eye on it as it can bubble up quickly—don't let it overflow! -
Check for Doneness
After 5 minutes, check the consistency. The mixture should be a light golden color and thickened. If it needs more time, microwave in 30-second intervals, stirring in between.The color is key; don’t rush this step for the perfect caramel flavor.
Finishing Touches
-
Add Vanilla
Once the caramel reaches the desired color, carefully remove it from the microwave and stir in the vanilla extract.Be cautious—the mixture will be hot! -
Pour into a Greased Pan
Pour the caramel into a greased 8x8-inch pan, spreading it evenly. Let it cool at room temperature for about 2 hours until set.For easier cutting, line the pan with parchment paper before pouring the caramel.
Storing and Serving
-
Cut and Store
Once set, cut the caramel into squares or rectangles. Wrap each piece in wax paper for easy storage and to prevent sticking.Store in an airtight container at room temperature for up to 2 weeks.
Note
- Use unsalted butter for a creamier texture and to control salt levels.
- Ensure the sugar is fully dissolved before heating to prevent graininess.
- Stirring frequently helps achieve a smooth consistency; don't rush this step.
- Be cautious of the temperature; caramel can quickly go from perfect to burnt.
- For a deeper flavor, consider adding a pinch of sea salt or a splash of vanilla extract after cooking.
- Always use a microwave-safe bowl to avoid any melting or chemical reactions.
- Let the caramels cool completely in the pan before cutting to avoid sticking.
- Use parchment paper to line your dish for easier removal.
- Store in an airtight container to maintain freshness, separating layers with wax paper.