
Imagine a dessert that combines the creamy delight of your favorite ice cream with the celebratory charm of a cake. An ice cream cake is the perfect marriage of two sweet worlds. This recipe is a joyous creation that layers flavors and textures into a harmonious symphony, offering a cool, refreshing slice of happiness with every bite.
Origins and History
Ice cream cake holds a cherished spot in the hearts of dessert lovers worldwide. Its origins can be traced back to the Victorian era, when extravagant ice cream molds were all the rage. These early versions were often reserved for the elite, featuring intricate designs and luxurious ingredients. Over time, as ice cream became more accessible, so did the concept of combining it with cake, leading to the delightful version we savor today. This evolution from a high-society treat to a beloved staple at birthdays and celebrations speaks to its universal appeal.
Unique Ingredients and Flavors
What sets an ice cream cake apart is its ability to transform simple ingredients into something extraordinary. The base is often a soft, spongy cake that acts as the perfect vessel for layers of creamy ice cream. Flavors range from classic vanilla and chocolate to more adventurous choices like mint chocolate chip or strawberry swirl. Adding crunch with a layer of cookies or nuts provides a delightful contrast to the creamy ice cream. The real magic, however, lies in the assembly and freezing process, which allows the flavors to meld together, creating a dessert that’s both familiar and novel in every bite.
Cooking Techniques and Tips
Crafting an ice cream cake requires a bit of patience and finesse, but the result is well worth the effort. The key is to allow each layer to freeze thoroughly before adding the next, ensuring a well-structured cake that slices beautifully. Don’t rush the process; give your cake ample time to set in the freezer. When it comes to decorating, think of your ice cream cake as a blank canvas. A drizzle of chocolate sauce, a sprinkle of crushed candies, or a scattering of fresh berries can elevate its appearance and flavor. Remember, the sky’s the limit when it comes to creativity and personalization.
Ice Cream Cake Delight
Description
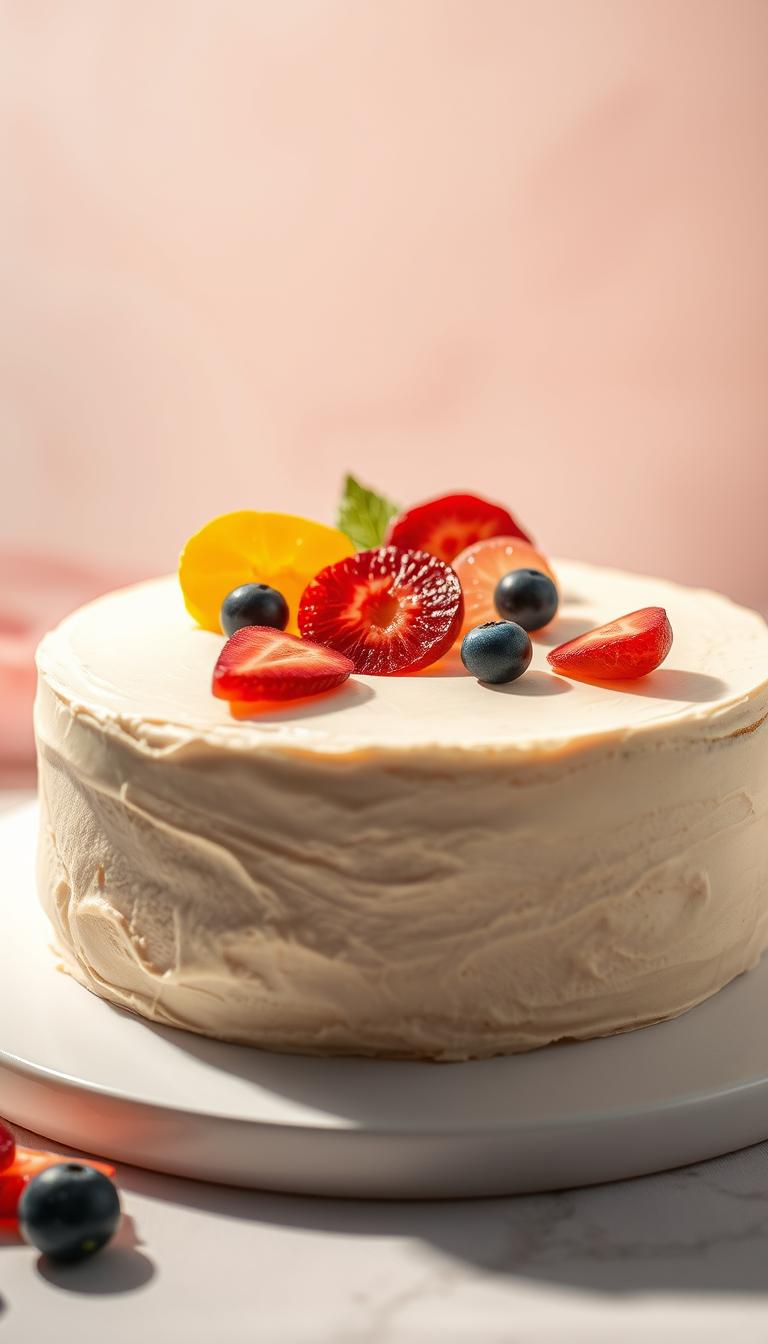
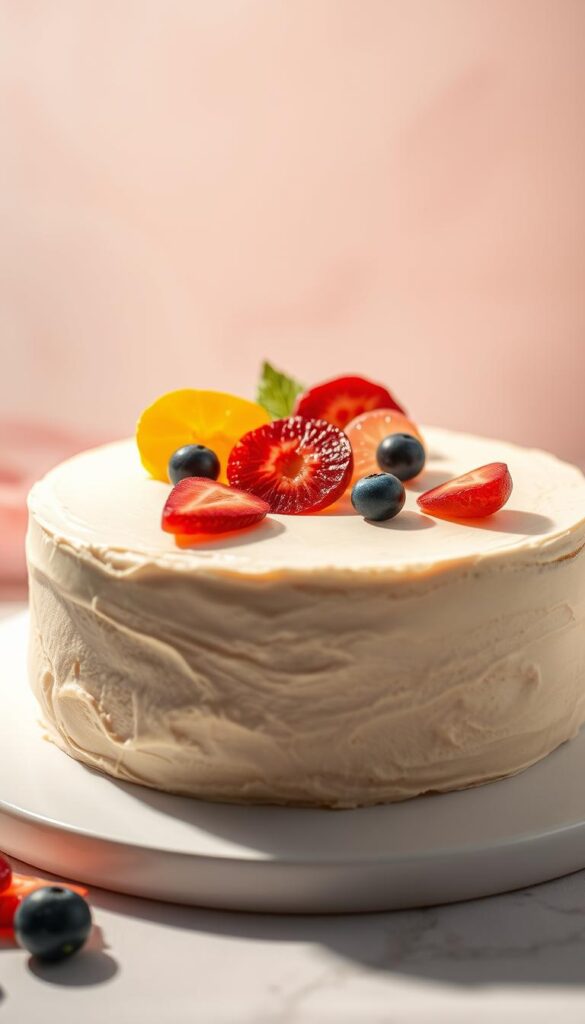
This ice cream cake is a delightful mix of creamy ice cream and fluffy cake layers, topped with a luscious frosting that makes every slice a celebration.
Ingredients
Cake Base
Ice Cream Layer
Toppings
Instructions
Prepare the Cake Layers
-
Gather Your Ingredients
Start by assembling all your ingredients: two store-bought pound cakes, your favorite ice cream flavors, and any toppings you crave.Choosing contrasting ice cream flavors can create a delightful taste experience. Think chocolate and vanilla, or strawberry and mint! -
Slice the Pound Cake
Carefully slice each pound cake horizontally into two even layers. You'll have four layers in total.Using a serrated knife helps achieve clean cuts, preventing the cake from crumbling.
Assemble the Ice Cream Cake
-
Layer It Up
Place the first cake layer on a serving plate. Spread a layer of softened ice cream over it, about an inch thick.Let the ice cream sit out for 5-10 minutes to soften slightly, making it easier to spread. -
Repeat the Layers
Continue layering cake and ice cream, ending with a cake layer on top. Press down gently to ensure even layers.Use the back of a spoon to smooth the ice cream layers for a polished look.
Freeze and Decorate
-
Freeze Until Firm
Place the assembled cake in the freezer for at least 3 hours, or until the ice cream is firm.Cover the cake with plastic wrap to prevent freezer burn and maintain freshness. -
Add Final Touches
Once firm, decorate your cake with whipped cream, chocolate shavings, nuts, or fresh fruit.Be creative! This is your chance to make the cake as visually appealing as it is delicious.
Serve and Enjoy
-
Slice and Serve
Use a sharp knife to cut the cake into slices. Serve immediately and enjoy the delightful mix of flavors.Run the knife under hot water before slicing for cleaner cuts through the ice cream layers.
Note
For optimal results, use high-quality ice cream and let it soften slightly before spreading to ensure smooth layers. Toast nuts before incorporating them for a richer flavor. If using cookies or brownies for layers, make sure they're completely cool to prevent melting. Consider adding a layer of fudge or caramel for added texture and taste variation. When layering, press down gently to eliminate air pockets, creating a cohesive cake. Freeze each layer individually before adding the next to maintain structure. If using whipped cream as a topping, stabilize it with a touch of gelatin or cornstarch to prevent deflation. Allow the assembled cake to freeze overnight for the best sliceability. For easy slicing, dip your knife in hot water and wipe it dry before each cut. To store leftovers, wrap tightly in plastic wrap and return to the freezer promptly to maintain freshness and prevent freezer burn.