

BestRecipesBlog.com is a participant in the Amazon Services LLC Associates Program, an affiliate advertising program designed to provide a means for sites to earn advertising fees by advertising and linking to Amazon.com. As an Amazon Associate, I earn from qualifying purchases.
A Slice of Decadence
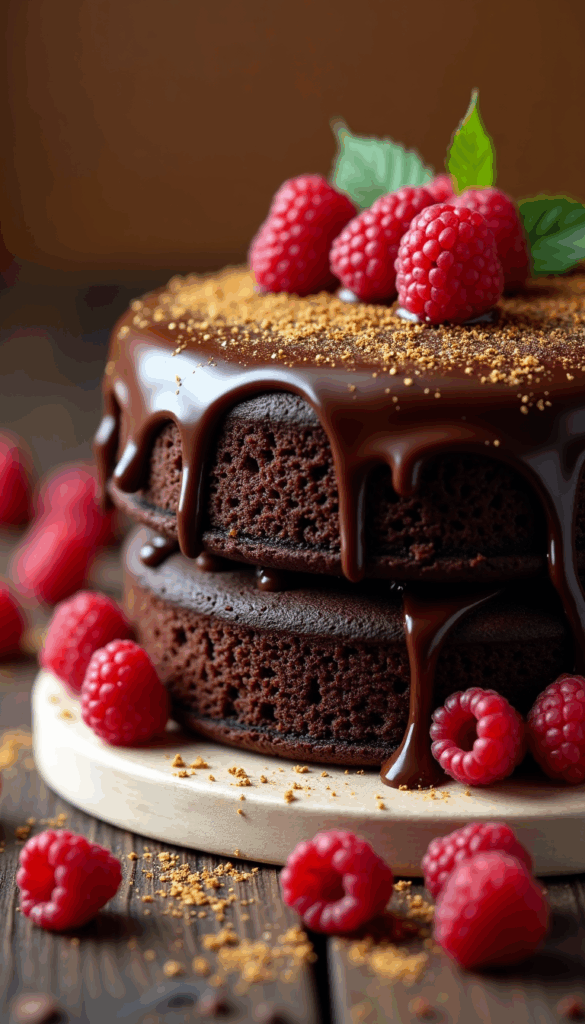
Indulging in a slice of Devil’s Food Cake is like unwrapping a beautifully wrapped gift; you never quite know the depths of richness that await you. This luscious chocolate cake, with its deep, dark hue and moist, tender crumb, has a way of captivating both hearts and taste buds. Each bite is a dance of flavors, blending the bittersweet notes of chocolate with a subtle hint of vanilla, creating a symphony that resonates long after the last morsel is savored.
The Origins of a Tempting Treat
Devil’s Food Cake has roots that stretch back to the early 1900s, emerging as a playful counterpart to the lighter, airy Angel Food Cake. The name itself evokes a sense of mischief, as if this cake is the naughty sibling in the dessert family. Some say it was named for its rich, dark color, which resembles the devil, while others suggest it represents the indulgence of sin. Regardless of its origin, this cake quickly became a staple in American households, often gracing tables during celebrations, birthdays, and any occasion that calls for a touch of extravagance.
Unique Ingredients and Flavors
What sets Devil’s Food Cake apart is its unique blend of ingredients that contribute to its signature texture and flavor. The use of cocoa powder, often in a higher ratio than other chocolate cakes, gives it that intense flavor profile that chocolate lovers adore. Adding a hint of baking soda enhances the cake’s rise, resulting in a light yet rich texture that feels almost luxurious on the palate. The inclusion of buttermilk or sour cream not only adds moisture but also a subtle tang that beautifully balances the sweetness, making each bite an experience of complexity and satisfaction.
Cooking Techniques That Matter
Achieving the perfect Devil’s Food Cake requires a few insider techniques that elevate it from ordinary to extraordinary. For instance, sifting the dry ingredients together ensures that everything blends seamlessly, preventing any clumps of cocoa from hiding in your batter. Mixing the batter in boiling water at the end of preparation brings out the full flavor of the cocoa, enhancing the cake’s depth. And remember, the secret to a moist cake lies in not overbaking; keeping an eye on the timer is crucial! With these tips, you’ll be well on your way to creating a cake that is not just a dessert, but a celebration of chocolate in its most divine form.
Devil’s Food Cake
Description
This moist and fudgy Devil's Food Cake is a chocolate lover's dream, featuring layers of rich cocoa flavor and a silky frosting that melts in your mouth. Perfect for celebrations or just a casual dessert.
Ingredients
Devil's Food Cake Ingredients
Instructions
Prepare the Cake Batter
-
Preheat Your Oven
Set your oven to 350°F (175°C) so it’s nice and hot by the time you're ready to bake.Make sure to position your oven rack in the center for even baking. -
Mix Dry Ingredients
In a large mixing bowl, sift together the flour, cocoa powder, baking soda, baking powder, and salt. Whisk them together until well combined.Sifting helps to aerate the flour and remove any lumps, ensuring a light cake. -
Combine Wet Ingredients
In another bowl, beat together the sugar, eggs, and vanilla extract until pale and fluffy. Gradually add in the melted butter and buttermilk, mixing until smooth.Using room temperature ingredients helps with better incorporation and texture. -
Blend the Mixtures
Gently fold the dry ingredients into the wet mixture, being careful not to overmix. Mix just until you see no flour streaks.Overmixing can lead to a dense cake, so be gentle and loving here.
Bake the Cake
-
Prepare the Cake Pans
Grease and flour two 9-inch round cake pans, or line them with parchment paper for easy removal.This step is crucial to prevent sticking and ensure a smooth release after baking. -
Pour and Bake
Divide the batter evenly between the prepared pans. Bake for 30-35 minutes, or until a toothpick inserted into the center comes out clean.Keep an eye on your cakes; ovens can vary, and you don’t want them to overbake. -
Cool the Cakes
Once baked, remove the cakes from the oven and allow them to cool in the pans for about 10 minutes before transferring them to a wire rack.Letting them cool completely is essential before frosting to avoid melting your icing.
Frost and Serve
-
Prepare the Frosting
While the cakes cool, whip up your favorite chocolate frosting. A cream cheese frosting pairs beautifully with Devil's Food Cake!For extra decadence, you can add a splash of espresso to enhance the chocolate flavor. -
Assemble the Cake
Once the cakes are completely cool, place one layer on a serving plate. Spread a generous amount of frosting on top, then place the second layer on top and frost the top and sides.Feel free to get creative with decorations, like chocolate shavings or sprinkles! -
Slice and Enjoy
Cut yourself a generous slice, savor the rich chocolate goodness, and don’t forget to share with friends (if you can!).Pair with a glass of milk or a scoop of vanilla ice cream for the ultimate treat!
Note
- Use high-quality cocoa powder for a rich, deep flavor.
- Ensure your ingredients are at room temperature for better mixing.
- Sift the flour and cocoa together to avoid lumps and ensure even distribution.
- Don't overmix the batter; mix until just combined to keep the cake tender.
- Grease and flour the cake pans to prevent sticking; consider using parchment paper for easy removal.
- Bake until a toothpick inserted in the center comes out with a few moist crumbs, not wet batter.
- Allow the cakes to cool in the pans for about 10 minutes before transferring them to a wire rack to cool completely.
- For the frosting, use unsalted butter for better control over saltiness.
- Whip the butter until light and fluffy before adding the cocoa and powdered sugar for a smoother texture.
- Taste and adjust the sweetness of the frosting according to your preference.
- This cake can be stored, well-wrapped, at room temperature for up to 3 days or in the refrigerator for a week.
- To freeze, wrap the cooled cake layers tightly in plastic wrap and aluminum foil; it can last for up to 3 months in the freezer.
- Pair with a scoop of vanilla ice cream or a dollop of whipped cream for an indulgent treat.