
BestRecipesBlog.com is a participant in the Amazon Services LLC Associates Program, an affiliate advertising program designed to provide a means for sites to earn advertising fees by advertising and linking to Amazon.com. As an Amazon Associate, I earn from qualifying purchases.
Imagine a world where the perfect pizza dough is within your grasp—soft, chewy, and with just the right amount of crispness. This classic all-purpose flour pizza dough is your ticket to pizza heaven, a canvas waiting for your culinary artistry. It’s versatile enough to cater to the purist’s Margherita or the most adventurous toppings you could dream up.
The Origins of Pizza Dough
Pizza dough has a storied past that takes us back to the sun-drenched streets of Naples, Italy, where the art of pizza-making was born. Here, simplicity meets perfection; water, flour, yeast, and salt combine to create something truly magical. This dough is the cornerstone of countless pizza variations that have traveled the world, adapting and evolving with each culture it touches. But at its heart, the essence remains unchanged—nurtured dough, transformed by heat, to bring joy in every bite.
The Flour of Life
The choice of flour is crucial. All-purpose flour is the unsung hero of the kitchen, providing a perfect balance of strength and tenderness. Its moderate protein content is ideal for creating a dough that’s easy to work with yet still yields a satisfying chew once baked. When paired with the right amount of yeast, this flour becomes the backbone of a dough that rises beautifully, offering a light and airy crust.
A Dance of Ingredients
The transformation of humble ingredients into a culinary masterpiece is where the magic happens. Yeast, a living organism, breathes life into the dough, creating bubbles that give the crust its signature texture. Salt adds depth, enhancing the dough’s natural flavors, while a touch of olive oil lends richness and prevents the dough from sticking. This harmony of elements is not just a recipe; it’s an alchemy that turns ordinary pantry staples into a feast for the senses.
As you embark on this pizza-making journey, remember: patience is key. Allowing the dough to rest and rise is crucial, as it gives the yeast time to work its magic. With each knead and stretch, you’re not just preparing food; you’re partaking in a time-honored tradition that connects generations of pizza lovers. So roll up your sleeves, sprinkle a little flour on your countertop, and let’s create a masterpiece together.
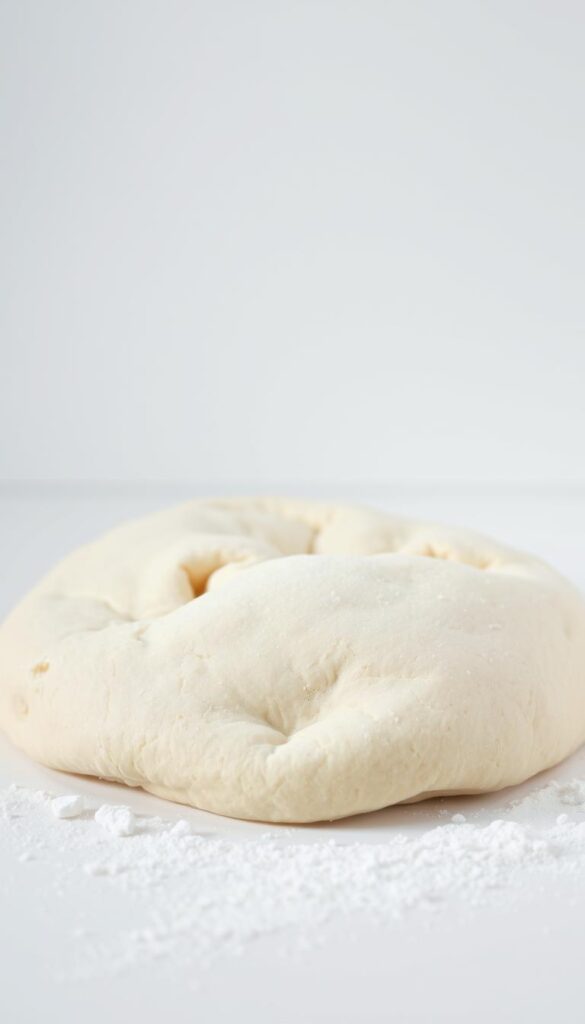
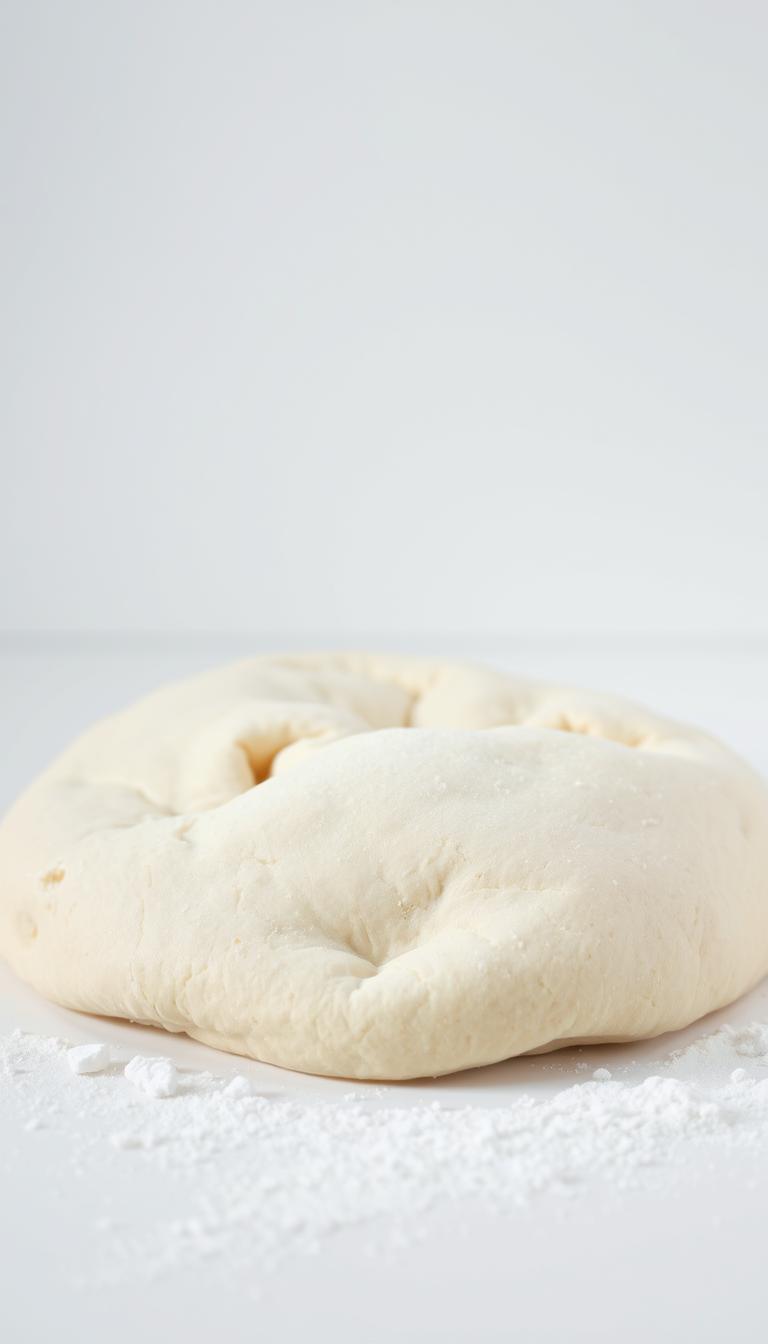
Classic All-Purpose Flour Pizza Dough
Ingredients
Classic All-Purpose Flour Pizza Dough Ingredients
Instructions
Prepare the Yeast Mixture
-
Activate the Yeast
In a small bowl, combine 1 cup of warm water (about 110°F) with 2 1/4 teaspoons of active dry yeast and a pinch of sugar. Stir gently until the yeast dissolves.Let the mixture sit for about 5–10 minutes until it becomes frothy. This indicates the yeast is alive and active.
Mix the Dough
-
Combine Ingredients
In a large mixing bowl, whisk together 2 1/2 cups of all-purpose flour and 1 teaspoon of salt. Create a well in the center and pour in the yeast mixture and 1 tablespoon of olive oil.Gradually stir in the flour from the edges toward the center until a rough dough forms. -
Knead the Dough
Transfer the dough to a floured surface and knead it for about 8–10 minutes until smooth and elastic.Add small amounts of flour if the dough is too sticky, but avoid adding too much to keep it tender.
Allow the Dough to Rise
-
First Rise
Place the dough in a lightly oiled bowl, cover it with a damp cloth or plastic wrap, and let it rise in a warm place for 1–1 1/2 hours, or until it has doubled in size.If your kitchen is cool, you can place the bowl in an oven with the light on to create a warm environment.
Shape and Use the Dough
-
Prepare for Baking
Punch down the risen dough to release the air. Divide it into two equal portions if making two pizzas. Roll each portion out on a floured surface to your desired thickness.For a thin crust, aim for about 1/4 inch thickness. For a thicker crust, roll to about 1/2 inch. -
Pre-bake if Necessary
If you like, you can pre-bake the rolled dough on a baking sheet at 475°F for about 5 minutes before adding toppings.Pre-baking helps create a crispier crust and avoids sogginess from wet toppings.
Note
If you're looking for a crispier crust, consider incorporating a tablespoon of olive oil into the dough. This addition not only enhances the flavor but also contributes to a delightful texture. For a deeper flavor profile, allow the dough to undergo a slow fermentation process by refrigerating it overnight. This resting period develops complex flavors and improves elasticity. When kneading, aim for a smooth, elastic dough that springs back when poked. This indicates proper gluten development, ensuring your crust is both chewy and robust. If you're using a stand mixer, monitor the dough's consistency closely. It should clean the sides of the bowl without being excessively sticky; adjust flour or water slightly as needed. Consider using a pizza stone or steel preheated in the oven for an optimal crust. This technique mimics the high temperatures of a professional pizza oven, resulting in a perfectly cooked base. For those preferring a whole wheat option, substitute half of the all-purpose flour with whole wheat flour. Keep in mind this may slightly alter the texture and flavor, adding a nutty undertone. To freeze the dough for later use, simply wrap it tightly in plastic wrap after the first rise, then place it in a freezer bag. Thaw in the refrigerator overnight before using. Adjust the hydration level based on your local climate and humidity. Drier environments might require a touch more water, while humid conditions may necessitate additional flour for balance.