
BestRecipesBlog.com is a participant in the Amazon Services LLC Associates Program, an affiliate advertising program designed to provide a means for sites to earn advertising fees by advertising and linking to Amazon.com. As an Amazon Associate, I earn from qualifying purchases.
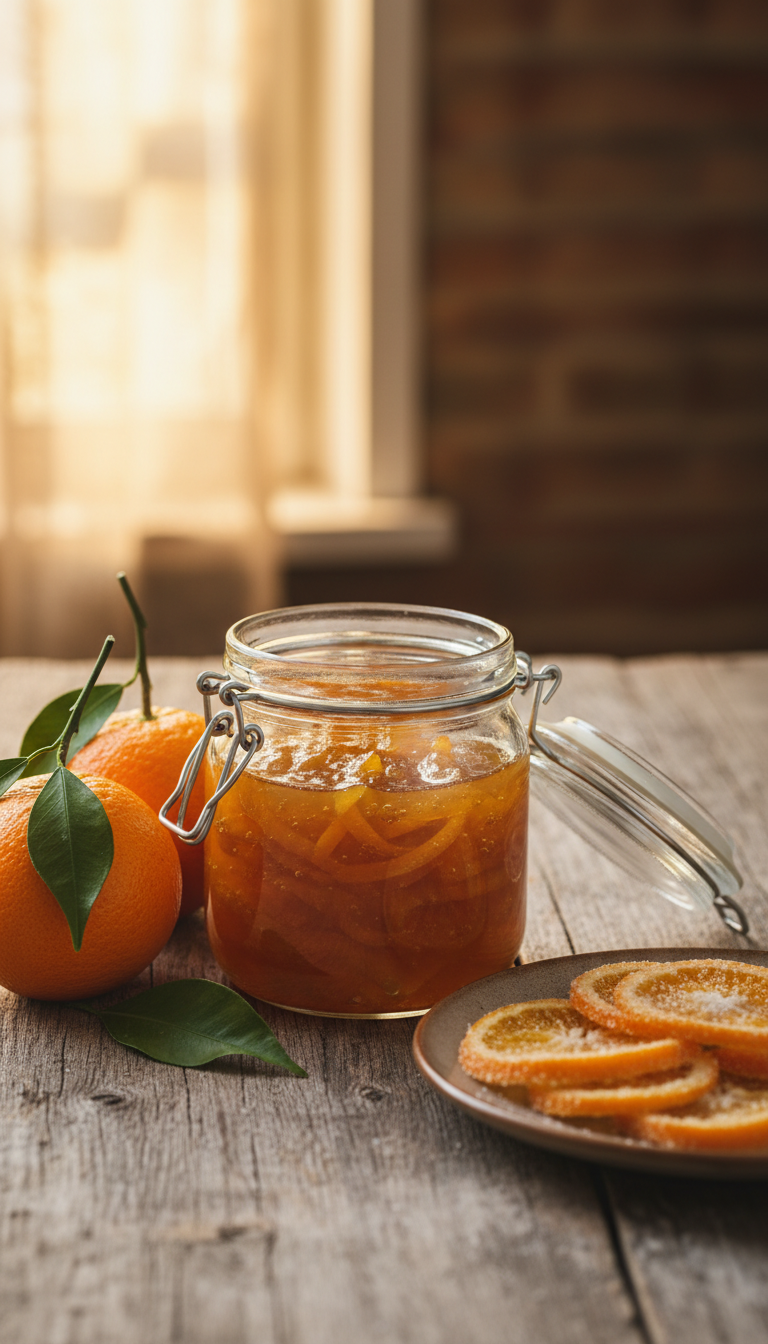
This rich, citrus-forward marmalade turns homemade candied orange peel into a glossy, bittersweet spread with incredible depth of flavor. It’s perfect on toast, swirled into yogurt, spooned over baked brie, or used as a filling for pastries and thumbprint cookies. The candied peel adds texture and a concentrated orange flavor, making this marmalade feel truly special.
Equipment Needed
• Sharp knife
• Cutting board
• Large heavy-bottom saucepan or Dutch oven
• Wooden spoon or heat-safe spatula
• Microplane or citrus zester
• Measuring cups
• Candy thermometer (optional but helpful)
• Sterilized glass jars with lids
Tips
• Use oranges with thick, fragrant peels for the best flavor
• Finely slicing the candied peel ensures a smooth, spreadable texture
• Balance sweetness carefully—candied peel already adds sugar
• Simmer low and slow to develop flavor without scorching
• Stir often, especially as the marmalade thickens
• A thermometer helps hit the perfect set, but the spoon test works too
• Let marmalade cool completely before judging thickness—it firms up as it sets
• This makes a beautiful homemade gift when packaged in small jars

Candied Orange Peel Marmalade
Description
This vibrant marmalade, made from zesty orange peels, offers a sweet and citrusy flavor that pairs perfectly with toast, pastries, or even as a topping for desserts.
Ingredients
Ingredients for Candied Orange Peel Marmalade
Instructions
Preparing the Orange Peels
-
Select and Wash the Oranges
Choose fresh, organic oranges for the best flavor. Rinse them thoroughly under cold water to remove any wax or pesticides.Using organic oranges ensures that you're not consuming any unwanted chemicals, especially since we'll be using the peels. -
Peel the Oranges
Carefully peel the oranges with a vegetable peeler, making sure to get as little of the white pith as possible. You want just the vibrant orange skin.The pith can add bitterness, so aim for thin peels. -
Slice the Peels
Cut the peels into thin strips, about 1/4 inch wide. This will help them cook evenly and absorb the syrup beautifully.Consider cutting the strips into different sizes for a rustic look in your marmalade.
Blanching the Peels
-
Blanch the Orange Peels
Place the sliced peels in a pot of boiling water and blanch for 2-3 minutes. This process helps to remove bitterness.Don't skip this step—it’s essential for achieving a sweet, delicious marmalade. -
Drain and Rinse
After blanching, drain the peels and rinse them under cold water to stop the cooking process.This also helps to wash away any remaining bitterness from the pith.
Making the Marmalade
-
Prepare the Syrup
In a large saucepan, combine equal parts water and sugar (about 2 cups each) and bring to a simmer over medium heat, stirring until the sugar dissolves.Use a heavy-bottomed pot to prevent the syrup from burning. -
Add the Blanched Peels
Once the sugar has dissolved, add the blanched orange peels to the saucepan and turn the heat to medium-low. Let it simmer for about 45 minutes, stirring occasionally.Keep an eye on it to ensure it doesn’t boil too hard; you want a gentle simmer. -
Check for Doneness
To check if the marmalade is ready, drop a spoonful onto a plate and let it cool for a minute. If it holds its shape and is not too runny, it’s done.If it's still too runny, continue to simmer for another 10-15 minutes.
Storing the Marmalade
-
Prepare the Jars
While the marmalade is cooking, sterilize your jars by placing them in boiling water for 10 minutes. Let them air dry.Sterilizing prevents any unwanted bacteria and ensures your marmalade lasts longer. -
Fill the Jars
Once the marmalade is ready, carefully pour it into the sterilized jars, leaving a little space at the top. Seal them tightly.You can also process them in a water bath for longer shelf life.
Note
- Use organic oranges to avoid pesticides on the peel for a cleaner taste.
- Make sure to blanch the peels several times to reduce bitterness; this step is crucial for a balanced flavor.
- Adjust the sugar level based on the sweetness of the oranges and your personal preference; feel free to experiment.
- For a deeper flavor, consider adding a splash of bourbon or vanilla extract to the mix during cooking.
- Store the marmalade in sterilized jars to prolong shelf life; it can last for up to a year if properly sealed.
- If the marmalade is too thick after cooling, you can stir in a bit of water while gently reheating to achieve the desired consistency.
- For a zesty twist, add a hint of fresh ginger or spices like cinnamon and cardamom during the cooking process.