
BestRecipesBlog.com is a participant in the Amazon Services LLC Associates Program, an affiliate advertising program designed to provide a means for sites to earn advertising fees by advertising and linking to Amazon.com. As an Amazon Associate, I earn from qualifying purchases.
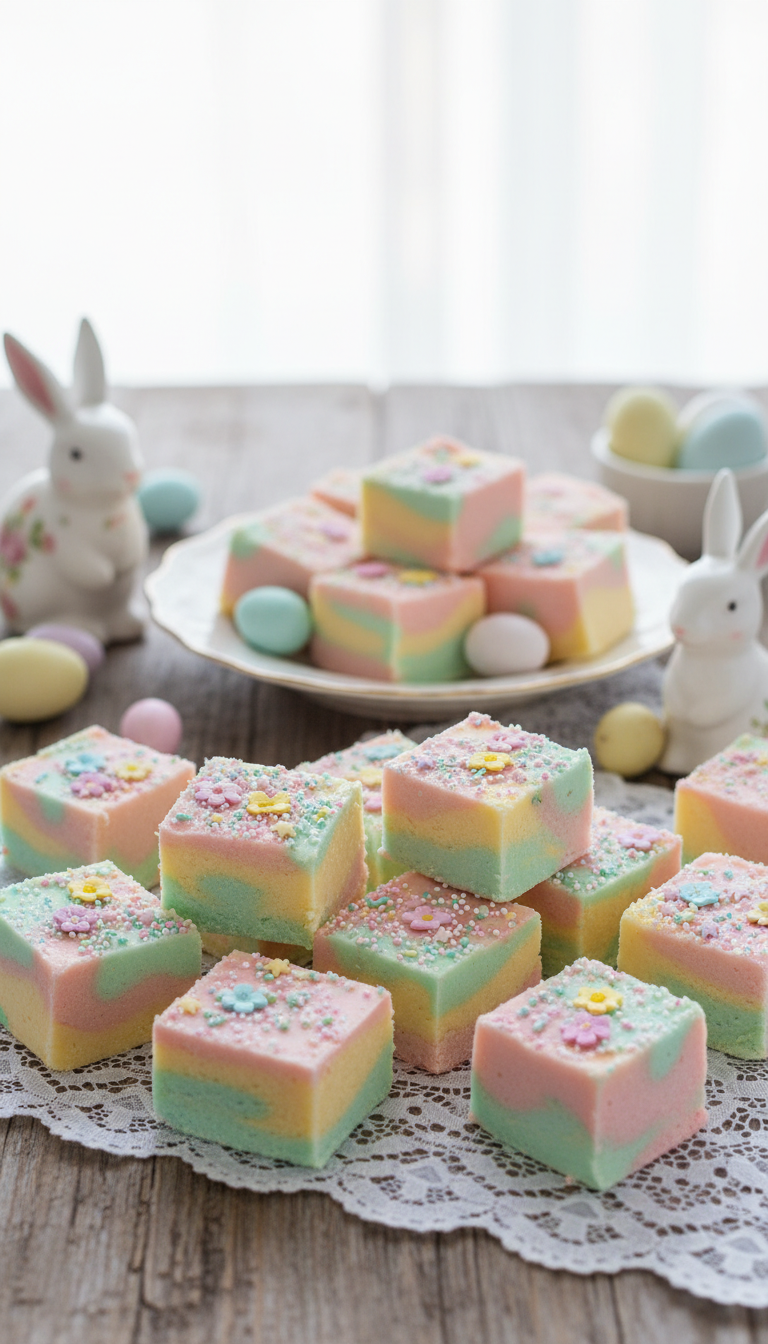
Pastel Easter Fudge is a festive, melt-in-your-mouth treat that’s perfect for spring celebrations. With soft pastel colors and a creamy texture, this no-bake fudge makes a beautiful addition to Easter dessert tables, candy trays, and gift boxes—simple to make, but eye-catching and fun.
Equipment Needed
- Medium saucepan or microwave-safe bowl
- Silicone spatula or spoon
- 8×8-inch baking dish
- Parchment paper
- Small bowls (for dividing and coloring fudge, if needed)
Tips
- Use gel food coloring for vibrant pastel shades without thinning the fudge
- Line the pan with parchment for easy lifting and clean edges
- Gently swirl colors instead of overmixing to keep the pastel look
- Chill just until set to maintain a smooth, creamy texture

Pastel Easter Fudge
Description
This pastel Easter fudge is a luscious blend of white chocolate and colorful sprinkles, creating a sweet treat that's as delightful to eat as it is to look at.
Ingredients
Ingredients for Pastel Easter Fudge
Instructions
Prepare Your Ingredients
-
Gather All Ingredients
Start by collecting all your ingredients: sweetened condensed milk, white chocolate chips, vanilla extract, and pastel-colored candies (like M&Ms or sprinkles). This way, you won’t be scrambling mid-recipe.Make sure your white chocolate chips are of good quality for the best flavor!
Melt the Chocolate
-
Combine Ingredients in a Pot
In a medium saucepan over low heat, mix together the sweetened condensed milk and white chocolate chips. Stir continuously until the mixture is smooth and fully melted. It should be silky and glossy—like a warm hug in a bowl!Be careful not to overheat or let it boil; keep the heat low to avoid burning the chocolate.
Flavor It Up
-
Add Vanilla Extract
Once melted, remove the pot from the heat and stir in the vanilla extract. This adds a lovely depth of flavor that elevates your fudge to the next level. Breathe in that aroma—delicious, right?Consider using a high-quality vanilla extract for the best results.
Mix in the Fun
-
Fold in the Candies
Gently fold in your pastel candies or sprinkles into the melted chocolate mixture. Be careful not to crush them—this is your colorful surprise that will make each bite a delight!You can reserve some candies to sprinkle on top for a beautiful finish.
Set Your Fudge
-
Pour into a Pan
Line an 8x8 inch baking dish with parchment paper for easy removal. Pour the fudge mixture into the prepared pan and spread it evenly with a spatula. This is where the magic happens, so smooth it out nicely!If you want a thicker fudge, use a smaller pan.
Chill and Cut
-
Refrigerate to Set
Place the pan in the refrigerator for at least 2 hours, or until the fudge is firm enough to cut into squares. Patience is key, my friend—good things come to those who wait!You can leave it overnight if you prefer to make it ahead of time. -
Cut and Enjoy
Once set, lift the fudge out of the pan using the parchment paper. Cut into squares and serve. Watch as your friends and family marvel at your culinary masterpiece—your Easter gathering just got a sweet upgrade!Store any leftovers in an airtight container in the fridge for a week—though I doubt it will last that long!
Note
- Use high-quality white chocolate for a smoother texture and better flavor.
- Make sure to chop the chocolate into small, uniform pieces to ensure even melting.
- For vibrant colors, gel food coloring works best as it won’t alter the consistency of the fudge.
- When adding mix-ins like nuts or dried fruit, ensure they are chopped finely for even distribution.
- If the fudge feels too sticky, refrigerate it for a short time before cutting.
- Line the pan with parchment paper for easy removal and clean edges.
- Allow the fudge to set at room temperature for a softer texture, or refrigerate for a firmer bite.
- Store in an airtight container at room temperature for up to a week or in the refrigerator for up to two weeks.
- For a flavor twist, consider adding a pinch of sea salt on top before it sets to enhance the sweetness.
fudge, Easter, dessert, pastel, sweet