BestRecipesBlog.com is a participant in the Amazon Services LLC Associates Program, an affiliate advertising program designed to provide a means for sites to earn advertising fees by advertising and linking to Amazon.com. As an Amazon Associate, I earn from qualifying purchases.
Delight your friends and family with these ten easy homemade candy recipes that require no candy thermometer! Perfect for beginners, these simple homemade treats use 5 ingredients or fewer, making easy candy-making at home a breeze. Each recipe is designed for accessibility, allowing you to whip up your favorites, like Peanut Butter Balls (Buckeyes), with just cream, chocolate, and peanut butter. These best homemade candy recipes are ideal for gifting during the holidays, letting you share delightful flavors with loved ones without the hassle of complicated techniques or equipment. Get ready to create delicious goodies that bring joy to any occasion!
Key Takeaways
- Easy candy making at home is accessible to everyone.
- All recipes use five ingredients or fewer.
- Perfect for gifting during holidays or special occasions.
- Simple homemade treats allow for flavor substitutions.
- Requires no specialized equipment, such as a candy thermometer.
Peanut Butter Balls (Buckeyes)

Peanut Butter Balls, often known as Buckeyes, are a delightful treat that’s perfect for anyone who loves a mix of sweet and savory. These homemade candy recipes are simple to make and require just a few ingredients. Enjoy making these quick candy recipes as a fun activity with friends or family, or prepare them as homemade chocolate treats for special occasions.
Equipment Needed
- Mixing bowls
- Microwave-safe dish
- Parchment paper
Tips
For the best results, use smooth peanut butter to achieve a consistent texture. Chilling the mixture before rolling it into balls helps prevent them from losing shape. Once they are chilled, coating the balls in melted chocolate not only makes them visually appealing but also enhances their flavor, making them an irresistible gift.
Chocolate Coconut Haystacks

Making Chocolate Coconut Haystacks is a delightful way to indulge in easy candy-making at home. This recipe brings together the sweet and chewy texture of coconut with rich chocolate, creating a treat everyone loves. Perfect for parties or simple snack cravings, these homemade chocolate treats come together quickly and easily.
Equipment Needed
- Mixing bowls
- Baking sheet
- Wax paper or parchment paper for lining
Tips
For the best results, combine the coconut flakes with condensed milk and chocolate thoroughly. This ensures every bite bursts with flavor. For a twist, consider adding nuts or dried fruits to customize your haystacks. Once formed, allow the haystacks to set in the refrigerator for enough time to develop a sturdy texture and an appealing look.
Microwave Caramels

Creating homemade microwave caramels offers a quick and delightful option for candy lovers. The simplicity of this recipe makes it one of the best homemade candy recipes for both beginners and seasoned candy makers. With just a few ingredients and minimal equipment, anyone can enjoy the sweet, buttery taste of caramel.
Equipment Needed
Tips
For successful microwave caramels, pay attention to the cooking times based on your microwave’s wattage. Stir the mixture consistently to prevent burning and to achieve the right consistency. Once cooled, cut the caramels into squares for easy sharing. These treats make fantastic gifts and are a wonderful addition to any collection of homemade candy recipes. Enjoy the process and satisfaction of creating your own delicious caramels!
Chocolate-Covered Pretzels

Chocolate-covered pretzels make for a delightful snack or gift. The contrast between the chocolate’s sweetness and the pretzel’s saltiness creates a flavor combination that everyone loves. These simple homemade treats are quick to prepare and can be customized for any occasion, making them one of the best homemade candy recipes.
Equipment Needed
- Microwave-safe bowl
- Baking sheets
- Parchment paper
Tips
Start with basic pretzels, then try various shapes and sizes to keep things interesting. For a pop of color and texture, consider rolling the chocolate-covered pretzels in sprinkles, crushed nuts, or drizzling them with additional chocolate. These easy-to-make treats are perfect for holiday gifting or adding a festive touch to any party.
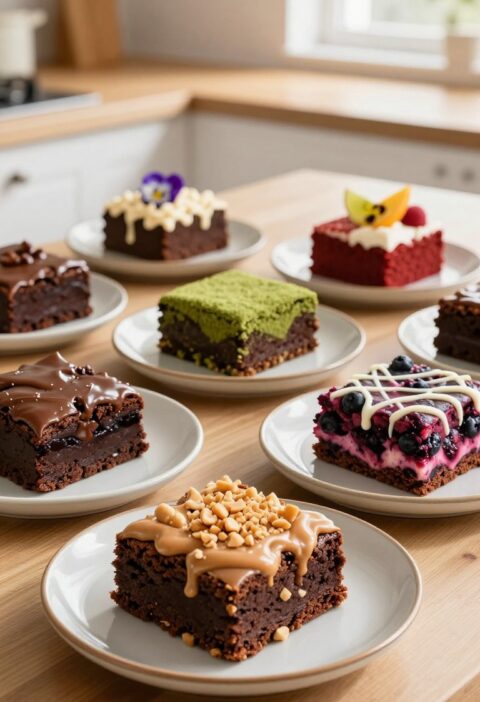
Rocky Road Candy Squares

Rocky Road Candy Squares offer a delightful treat that embodies the essence of easy candy making at home. This dessert combines the richness of chocolate with chewy marshmallows and crunchy nuts, creating a texture that is both satisfying and indulgent. Whether enjoyed on a cozy evening or shared with friends, these squares shine as one of the best quick candy recipes around.
Equipment Needed
- 1 saucepan
- 1 mixing bowl
- 1 8×8-inch baking dish lined with parchment paper
Tips
To elevate your Rocky Road Candy Squares, consider adding dried fruits or experimenting with unique flavors like espresso. For the best texture, it’s crucial to allow enough time to cool before cutting into squares. Your patience will be rewarded with perfectly shaped treats that satisfy sweet cravings and impress guests.
Easy Butter Toffee

Easy Butter Toffee is a delightful treat perfect for those who love indulging in sweet, crunchy snacks. This recipe showcases the magic of homemade candy and offers an exciting way to enjoy easy candy-making at home. Using just a few ingredients, you can create a delicious confection that satisfies your sweet tooth.
Equipment Needed
- Medium saucepan
- Spatula or wooden spoon
- Baking sheet lined with parchment paper
Tips
- Pay close attention while cooking; toffee can go from perfect to burnt quickly.
- Use high-quality chocolate for the topping to enhance the flavor of your toffee.
- Allow the toffee to cool completely before breaking it into pieces for sharing.
Chocolate Bark (Endless Variations)

Chocolate bark is a fantastic canvas for creativity, making it one of the most versatile homemade chocolate treats. With just a few simple ingredients, this sweet confection can be transformed into a variety of flavor combinations to suit every palate. Whether you’re entertaining guests or simply satisfying a sweet tooth, quick candy recipes like chocolate bark are always a hit.
Equipment Needed
- Microwave-safe bowl
- Cookie sheet
- Wax paper
Tips
Melt chocolate carefully to avoid scorching. Once melted, pour the chocolate onto a cookie sheet lined with wax paper. Feel free to customize your chocolate bark with toppings like nuts, dried fruit, or candy pieces to add texture and flavor. After spreading the chocolate evenly, let it set in the fridge for efficient cooling. Once firm, break the chocolate into pieces for an attractive treat that’s perfect for sharing.
No-Bake Chocolate Truffles

No-bake chocolate truffles are an irresistible option when exploring homemade candy recipes. With minimal effort and a few simple ingredients, these truffles become a delightful treat perfect for sharing or gifting. The base of the recipe includes rich chocolate and cream, allowing a world of flavors by adding vanilla or your favorite liqueurs. Presentation options are endless; rolling the truffles in cocoa powder, chopped nuts, or colorful sprinkles adds a personal touch.
Equipment Needed
- Mixing bowl
- Airtight container for storage
Tips
- Chill the truffles before serving to enhance their texture.
- Experiment with flavors to create your own version of the best homemade candy recipes.
- Consider using high-quality chocolate for a richer taste.
Chocolate Marshmallow Clusters
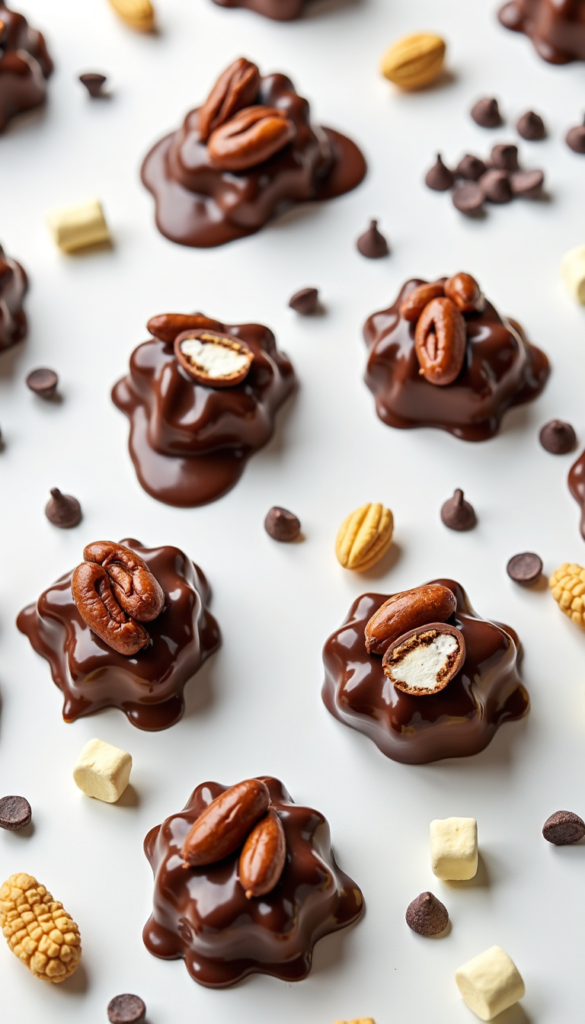
Indulging in homemade candy recipes doesn’t have to be complicated. Chocolate marshmallow clusters are a delightful way to combine the sweetness of chocolate with the fluffy texture of marshmallows, making them perfect, simple homemade treats. With just a few ingredients, you’ll create an irresistible candy that is sure to impress.
Equipment Needed
To make these chocolate marshmallow clusters, you’ll need a microwave-safe bowl, a mixing spoon, and a baking sheet lined with parchment paper. The parchment will prevent your clusters from sticking, making cleanup a breeze. Gather your ingredients, which typically include chocolate chips, marshmallows, and nuts, to get started on this easy and fun candy-making adventure.
Tips
For the best results, consider varying the types of chocolate you use—milk, dark, or even white—adding a unique twist to your clusters. Adding other ingredients, like crispy cereals or dried fruit, can enhance the flavor and texture. Remember to let your clusters cool completely before serving them or packaging them as gifts. These chocolate-marshmallow clusters are a fantastic way to enjoy the process of creating simple, homemade treats everyone will love.
FAQ
Do I need special equipment to make these homemade candy recipes?
Can I substitute ingredients in these recipes?
How long can I store the homemade candy?
Are there any nut-free options in this list?
Can I use alternatives for sugar in these recipes?
What’s the easiest recipe for beginners?
Can I make these candies as gifts?
What is the best way to package homemade candy for gifting?