

BestRecipesBlog.com is a participant in the Amazon Services LLC Associates Program, an affiliate advertising program designed to provide a means for sites to earn advertising fees by advertising and linking to Amazon.com. As an Amazon Associate, I earn from qualifying purchases.
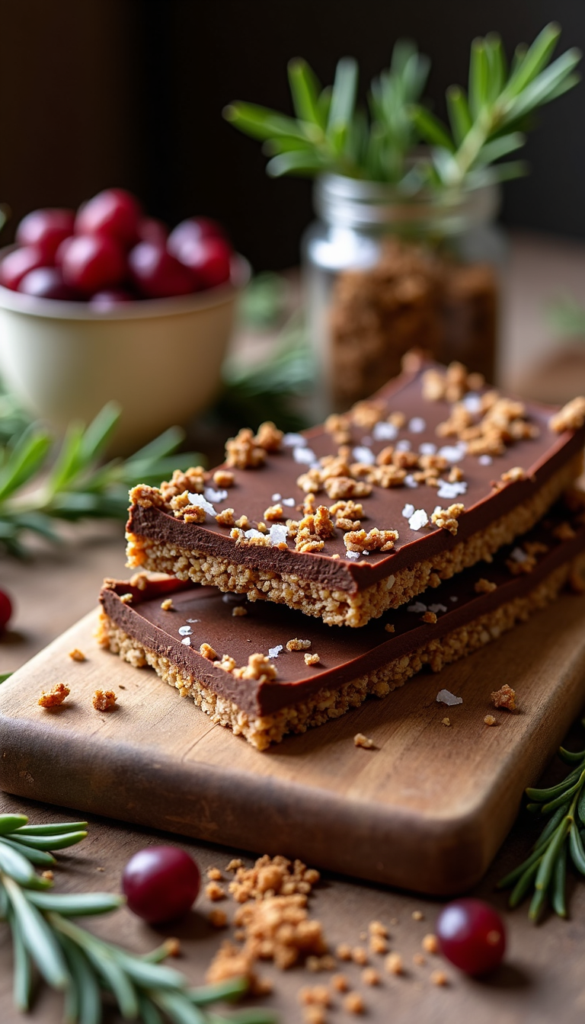
These No-Bake Dark Chocolate Sea Salt Granola Bars are rich, chewy, and perfectly balanced with deep cocoa flavor and a hint of flaky sea salt. Made with wholesome pantry staples and no oven required, they’re ideal for an indulgent yet better-for-you snack, dessert, or grab-and-go treat.
Ingredients
- 2½ cups rolled oats
- ½ cup creamy almond butter or peanut butter
- ⅓ cup honey or maple syrup
- ¼ cup cocoa powder
- ¼ cup dark chocolate chips or chopped dark chocolate
- 1 teaspoon vanilla extract
- ¼ teaspoon salt
- Flaky sea salt, for topping
Optional add-ins:
- 2 tablespoons chia seeds or ground flaxseed
- ¼ cup chopped almonds or pecans
- 1 tablespoon coconut oil (for extra richness)
Equipment Needed
- Medium mixing bowl
- Small saucepan or microwave-safe bowl
- Spatula or wooden spoon
- 8×8-inch baking dish
- Parchment paper
Tips & Variations
- Ultra-decadent: Drizzle melted dark chocolate over the bars after chilling, then sprinkle with extra sea salt.
- Vegan-friendly: Use maple syrup and dairy-free dark chocolate.
- Less sweet: Reduce honey or maple syrup slightly and use extra-dark chocolate (70%–85%).
- Nut-free option: Replace nut butter with sunflower seed butter.
- Storage: Store bars in an airtight container in the refrigerator for up to 7 days or freeze for up to 2 months.
No-Bake Dark Chocolate Sea Salt Granola Bars
Description
These no-bake dark chocolate sea salt granola bars are a heavenly blend of crunchy oats, nuts, and chocolate, topped with a touch of sea salt to elevate every bite. Perfect for on-the-go energy!
Ingredients
Ingredients for No-Bake Dark Chocolate Sea Salt Granola Bars
Instructions
Prepare the Base
-
Gather and Measure Ingredients
Start by measuring out 2 cups of rolled oats, 1 cup of nuts (like almonds or walnuts), and 1 cup of medjool dates, pitted and chopped. You'll also need 1/2 cup of nut butter (like almond or peanut butter) and 1/4 cup of honey or maple syrup.For a vegan option, use maple syrup and a nut butter without added sugars.
Mix the Ingredients
-
Blend the Wet Ingredients
In a mixing bowl, combine the nut butter and honey or maple syrup. Microwave this mixture for about 20-30 seconds or until it’s warm and easy to stir. This step helps to blend the flavors better.Be careful not to overheat; you just want it warm enough to mix smoothly. -
Combine Dry Ingredients
In a separate large bowl, mix the oats, nuts, and chopped dates. Stir them together until they're evenly combined.Feel free to add any extras like chia seeds, flax seeds, or coconut flakes for added texture and nutrition. -
Mix Everything Together
Pour the warm nut butter mixture over the dry ingredients. Use a spatula or your hands (wearing kitchen gloves) to combine everything until it’s well-coated and sticky.If the mixture feels too dry, add a splash of water or more nut butter until it reaches a sticky consistency.
Shape the Bars
-
Line the Pan
Line an 8x8-inch baking dish with parchment paper, leaving some overhang for easy removal later.This will help prevent sticking and make cleanup a breeze! -
Press the Mixture into the Pan
Transfer the granola mixture to the lined baking dish. Use your hands or a flat-bottomed measuring cup to press the mixture down firmly and evenly. The more compact it is, the better the bars will hold together.Don’t skip this step—pressing it down firmly is key to achieving that perfect bar shape!
Chill and Cut
-
Refrigerate the Mixture
Place the baking dish in the fridge for at least 1-2 hours, or until the mixture is firm enough to cut.You can also freeze them for 30-40 minutes if you're in a hurry! -
Slice into Bars
Once firm, remove the mixture from the pan using the parchment overhang and place it on a cutting board. Use a sharp knife to slice it into your desired bar size.Wrap individual bars in parchment or plastic wrap for easy grab-and-go snacks.
Finishing Touches
-
Sprinkle with Sea Salt
Before the bars fully set, sprinkle a pinch of flaky sea salt on top for that perfect sweet-salty balance.This little addition elevates the flavor profile and is oh-so-delicious!
Storage
-
Store the Bars
Keep the granola bars in an airtight container in the fridge for up to a week. You can also freeze them for longer storage.If freezing, layer them between parchment paper to prevent sticking.
Note
- Use rolled oats for the best texture; quick oats can lead to a mushy consistency.
- Toast the oats and nuts lightly before mixing for enhanced flavor.
- Substitute almond butter with peanut butter or sunflower seed butter for different flavor profiles.
- For added sweetness, consider drizzling honey or maple syrup over the top before chilling.
- If you prefer a crunchier bar, increase the ratio of nuts or seeds.
- For a vegan option, ensure the chocolate is dairy-free and replace honey with agave syrup.
- Cut the bars after chilling for at least 2 hours for clean edges; a warm knife helps with cutting.
- Store in an airtight container in the fridge for up to two weeks or freeze for longer preservation.